
This post shows how to add/remove rows and columns in AG Grid with React and Redux Toolkit. We'll explain this in detail and build a React sample showing how to add/remove rows and column definitions in AG Grid using a Redux store.
We also briefly explore how we can use React's context API in a drop down menu outside of the grid to make changes affecting the row data and columns.
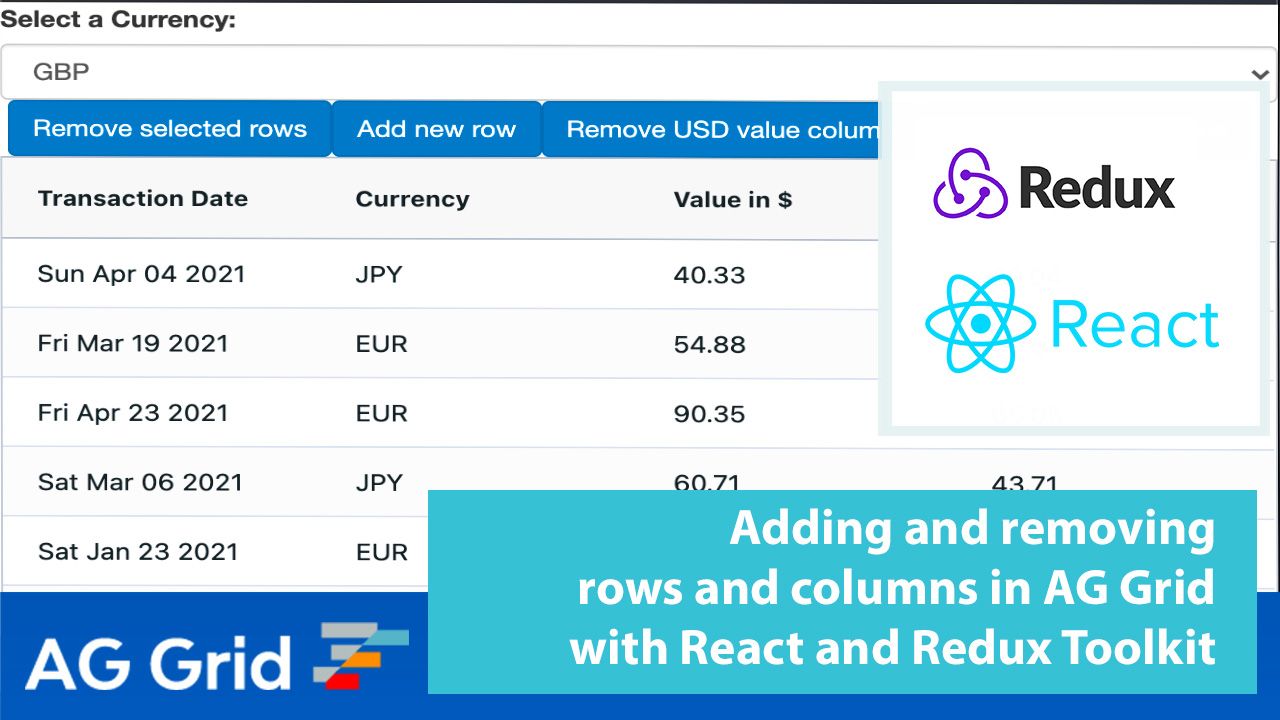
Please see the live sample demonstrating this below. You can change the selected currency, add new rows, remove selected rows, add and remove an extra column.
Contents
Creating the Redux Store
Let's start with setting up our Redux store. We create the store using the configureStore method provided by Redux Toolkit, along with the reducers we create in each of our slices, as shown below:
import { configureStore } from '@reduxjs/toolkit';
import rowReducer from './features/ag-grid/slices/rowSlice';
import columnReducer from './features/ag-grid/slices/columnSlice';

export default configureStore({
  reducer: {
    rows: rowReducer,
    columns: columnReducer
  }
});To bind the store, we simply wrap our root component in a provider tag and point to our store as shown below:
import React from 'react';
import ReactDOM from 'react-dom';
import App from './app/App';
import store from './app/store';
import { Provider } from 'react-redux';

ReactDOM.render(
  <React.StrictMode>
    <Provider store={store}>
      <App />
    </Provider>
  </React.StrictMode>,
  document.getElementById('root')
);
Creating Slices
Now that our store is created, let's look into creating slices. Redux toolkit provides a handy function for creating "slices" of state called createSlice. Using this function you can define reducers and automate the creation of action types and action creators based on the names we give to the reducers. We then export these actions, reducers and any selectors we use to keep track of the state in the store, as shown below:
import { createSlice } from '@reduxjs/toolkit';

export const columnSlice = createSlice({
  name: 'columns',
  initialState: {
    columns: []
  },
  reducers: {
    ...
  }
});

export const { addColumn, removeColumn, updateColumns } = columnSlice.actions;
export const selectColumns = state => state.columns.columns;
export default columnSlice.reducer;Updating the Redux Store
To update the store we use the dispatch action hook provided by React-Redux with the actions we exported from our slices as shown below:
  const onGridReady = params => {
    dispatch(addColumn(createInitialColumns()));
    dispatch(addRows(rowDataJSON));
    setGridApi(params.api);
};Adding Rows
To add rows we dispatch the addRows action with a payload containing the array of rows we'll be adding to the store. Our addRows reducer then looks at the current state of the row data in the store and makes a copy. The old rows are concatenated with the new rows we passed in.
We then update the store to show this updated row data and update our latest Id state variable to keep track of the largest id and avoid duplication when updating existing rows in our row data. This code is shown below:
reducers: {
...other reducers,
 addRows: (state, action) => {
      let newRowData = [...state.rowData];
      newRowData = action.payload.concat(newRowData);
      return {
        ...state,
        rowData: newRowData,
        latestId: action.payload.pop().id
      };
    },
...}Adding Columns
We can add columns to the grid the same way we add rows. The only difference is that the payload in the dispatched action is an array containing column definitions rather than rows. We also append the new column to the existing ones rather than prepend as we do with the new rows. Please see this in the code below:
    addColumn: (state, action) => {
      let newCols = [...state.columns];
      newCols = newCols.concat(action.payload);
      return {
        ...state,
        columns: newCols
      };
},Removing Rows
In order to remove rows, we pass the selected row ids as the payload in our dispatch action call. We then filter a copy of the row data currently in our store to remove the given rows and then update the row data in the store to reflect these changes.
Removing Columns
Removing columns is quite similar to how we remove rows. We pass the field of the column we're removing in the payload and filter a copy of the column definitions currently in our store. We finish by updating the column definitions in the store to the copy we've filtered to reflect the changes in the grid.
Updating Rows
Updating existing rows is quite similar to removing rows. However, since we're updating the rows through the store and not the grid we need to do a little bit of prep work in the grid code - please see the code and explanation below:
  const saveNewValue = params => {
    let field = params.column.colId;
    let newRow = { ...params.data };
    newRow[field] = params.newValue;
    dispatch(updateRow(newRow));
    return false;
};We add a valueSetter to the columns we would like to make editable. We use the valueSetter callback to dispatch the updateRow action with the newly updated data as the payload before cancelling the edit. We cancel the edit because we don't want to update the data through the grid directly. This way the update will go through the store and trickle down to the grid.
In the reducer, we make a copy of the current row data, we search for the row with the same id as the row in our payload and then splice that row into the row data, replacing the old row with the new one. We then update our store to reflect this change. This pattern also works when using custom cell editors, which can be seen in the transaction date column of our example, which uses a jQuery date picker.
Updating Columns
Updating columns through the Redux store is a bit simpler than updating rows, since we don't have to work around the default behaviour of AG Grid to achieve our desired result. We simply loop through the existing columns, find which the one with the same id as the column sent as the payload and update the store. See this implemented in the updateColumns reducer method code below:
updateColumns: (state, action) => {
      let newCols = [...state.columns];
      newCols = newCols.map(col => {
        if (col.field == action.payload.field) {
          return action.payload;
        }
        return col;
      });
      return {
        ...state,
        columns: newCols
      };
    }
Reading From the Context
Our application also features a drop down menu outside of the grid. When the user changes the displayed currency, this triggers an update of the row data and the column header of one of the columns. Rather than add the currency data to our Redux store, we chose to show how we could pass this data around the application using the React context API.
To do this we use the React createContext function the currencyContext file. This file exports the context we created, containing an initially empty currency string and the setCurrency method.
import React from "react";

 const currencyContext = React.createContext({
  currency: '',
  setCurrency: () => {}
});

export default currencyContextWe then wrap our App component in provider tags, similarly to how we wrapped the root index component in the Redux store provider tags. In the drop down menu component we import our currency context and reference our currency variable and setCurrency function with the use of the useContext hook. We then add an onChange event to our drop down menu which sets the value of the currency to the selected value.
import React, { Component, useState, useContext } from 'react';
import currencyContext from './currencyContext.js';

export const DropDown = () => {
  const { currency, setCurrency } = useContext(currencyContext);
  const myFunc = event => {
    setCurrency(event.target.value);
  };

  return (
    <select id="currencyDropdown" name="currency" onChange={myFunc}>
      <option value="GBP">GBP</option>
      <option value="JPY">JPY</option>
      <option value="EUR">EUR</option>
    </select>
  );
};In our grid, we reference the currency context using the useContext hook just as we did in the drop down component. As mentioned above, our grid contains a column which shows the value of a rows transaction in the currently selected currency. This requires both the rows and the columns to be updated every time the currency is updated. To do this we use the useEffect hook to dispatch actions which will perform the required updates in the store, as shown below:
  useEffect(() => {
    if (gridApi) {
      updateCurrencyRowData(currency);
      updateColumnName();
    }
  }, [currency]);
Our "variable currency" column uses a formatter so values in Euro and British pound sterling are shown to two decimal places and those in Japanese Yen are rounded to the nearest whole number.
A common issue when using React hooks is capturing old values in a closure. This occurs when we try to access the value of our currency context in our value formatter. To get around this, we use the useRef and useEffect hooks, as shown in the code below. Now, the value we reference in our value formatter is always the up to date value of the currency context.
  const currencyRef = useRef();
  useEffect(() => {
    currencyRef.current = currency;
  });
Summary
We hope you find this article helpful when using AG Grid with React and Redux. Please feel free to fork the example from the blog post or use any code snippets and modify them to fit the needs of your application.
If you would like to try out AG Grid check out our getting started guides (JS / React / Angular / Vue)
Happy coding!