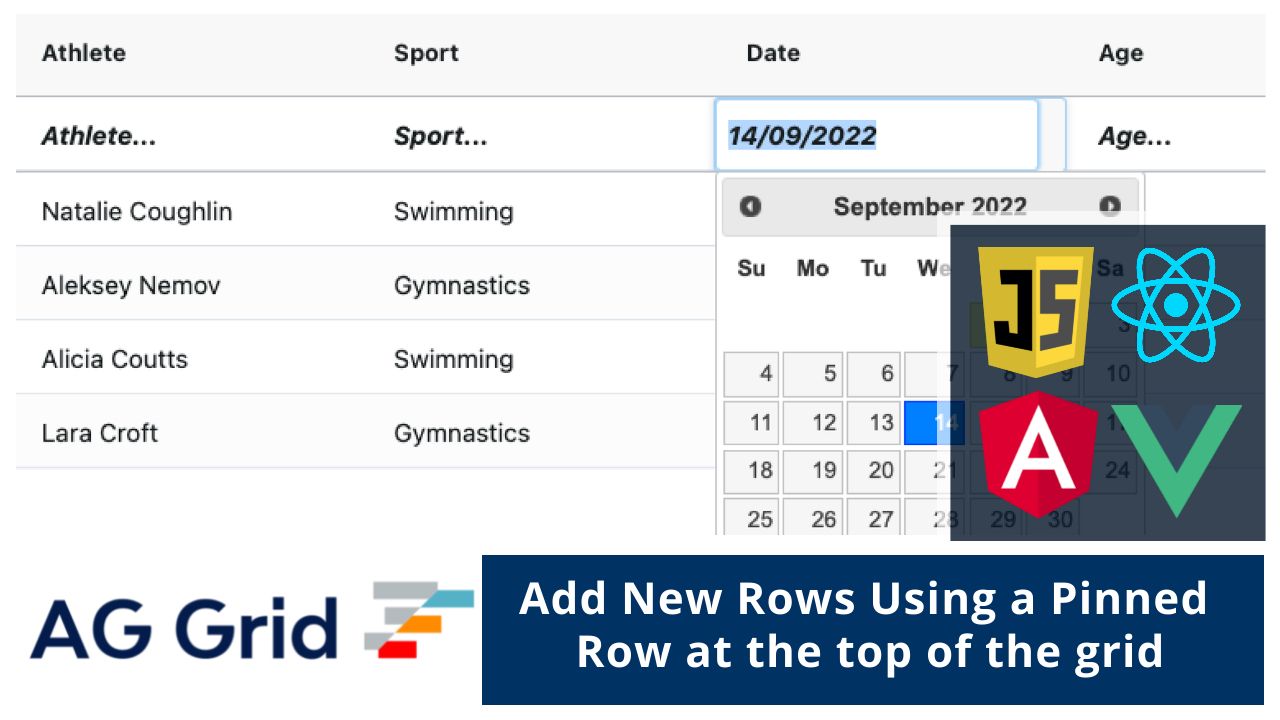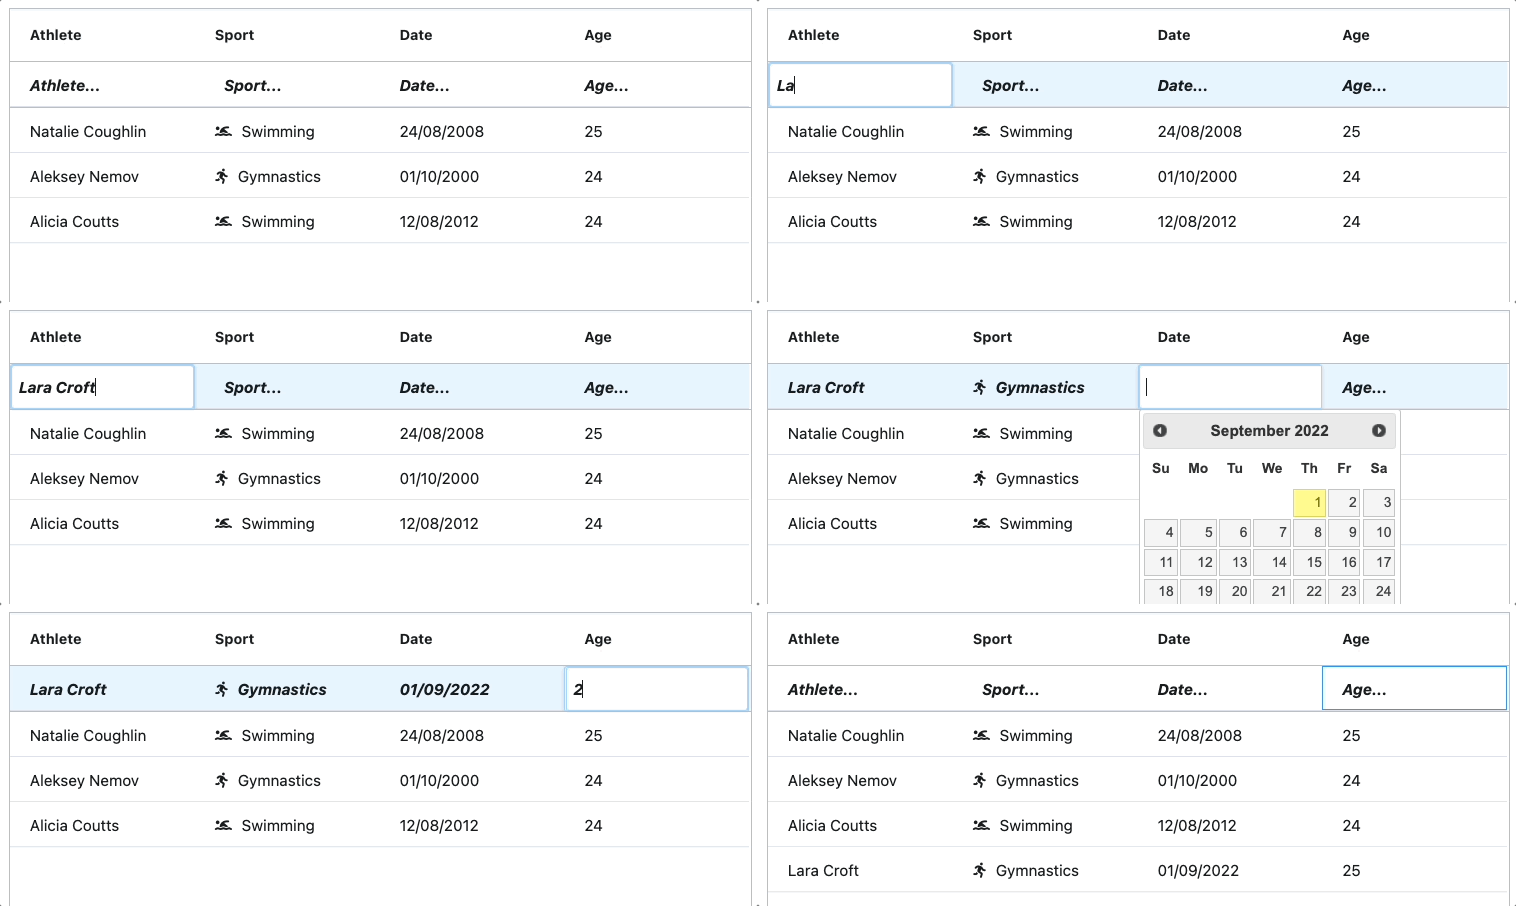
In this post, we'll show you how to enable users to add new data rows using a pinned row at the top of the grid. This way, new rows can be added right inside the grid without using a separate UI just for adding new rows.
We've built a sample to illustrate this - please see it in action below:

Live Example
See the live sample in JavaScript below and links to the same sample in other frameworks just below it. In the live sample below, click inside the pinned row just below the header row and enter cell values to add a new record to the grid.
See the live example in all the major frameworks using the links below:
Vanilla JavaScript / React / Angular / Vue
Contents
Configuring the pinned row
In order to display an empty pinned row at the top, we provide data for it by setting the pinnedTopRowData array as follows:
var inputRow = {};

var gridOptions = {
  pinnedTopRowData: [inputRow],
...
}
We start by providing an empty object to store the data for the new row to be added. As the user enters cell values for each column in the pinned row, AG Grid updates the pinnedTopRowData with the latest inputs.
Placeholders
In the cells of the pinned empty row, we are displaying placeholders to indicate to the user that they can add a new row by typing there. We display the values of these placeholders using a value formatter in the default column definitions. This allows formatting the cell values without affecting the underlying data.
Please see the implementation below:
var gridOptions = {
...
  defaultColDef: {
  ...
    valueFormatter: (params) =>
      isEmptyPinnedCell(params)
        ? createPinnedCellPlaceholder(params)
        : undefined,
  },
...
}
The value formatter uses the isEmptyPinnedCell function to identify only empty top row cells and creates placeholder values for them, using the createdPinnedCellPlaceholder function.
Styling
We have styled the pinned row so that it stands out. The getRowStyle callback allows us to style each row individually, and we use it to apply a separate style to the pinned top row used for adding new rows in the grid. See the code below:
var gridOptions = {
...
 getRowStyle: ({ node }) =>
   node.rowPinned ? { 'font-weight': 'bold', 'font-style': 'italic' } : 0
...
};
The value formatter and row style produce the following styled version of the top pinned row:

Advanced features
Now that we've seen how to build, format and style a pinned row with simple editors, let's look into how to set up some advanced editors and renderers.
Dropdowns inside the grid
Let's look at how to display a dropdown inside the pinned row. Say we'd like to allow the user to select a value in the sport's column using a dropdown editor.
To do this, we will use the out-of-the-box AG Grid Rich Cell Editor, and as a bonus, this editor will use a custom cell renderer.
See this defined below - the column uses a cell renderer to show the sport's icon, and we're using the same renderer for the dropdown editor:
var columnDefs = [
    ...
  {
    field: 'sport',
    cellEditor: 'agRichSelectCellEditor',
    cellRenderer: SportRenderer,
    cellEditorParams: {
      values: ['Swimming', 'Gymnastics', 'Cycling', 'Ski Jumping'],
      cellRenderer: SportRenderer,
    },
  },
...
]
This helps us build the dropdown shown below:

Please see the code examples for the SportRenderer in the code example.
Date picker
The date picker in the example is a custom cell editor component. To use it, we provide a reference to the editor in the column definition.
var columnDefs = [
 ...
 { field: 'date', cellEditor: getDatePicker() }
 ...
]
Please see the code for the data picker implementation in one of the live examples depending on the framework you're using.
See below a screenshot of the live example showing the date picker:

Listening to check if there is a new row to be added
To know when to add a new row, we check if all the cells have entries, we use the cellEditingStopped event.
onCellEditingStopped: (params) => {
    if (isPinnedRowDataCompleted(params)) {
   ...
    }
  },
In the callback, we use the isPinnedRowDataCompleted function to monitor the pinned row, as shown below.
function isPinnedRowDataCompleted(params) {
  if (params.rowPinned !== 'top') return;
  return columnDefs.every((def) => inputRow[def.field]);
}
Adding the new row to the grid
Once all the pinned row cells have new values, we add the new data row to the bottom of the grid.
Please see below the code sniped of adding the input row data to the grid row data.
onCellEditingStopped: (params) => {
    if (isPinnedRowDataCompleted(params)) {
        setRowData([...rowData, inputRow])
          ...
    }
  },
setRowData code snippet below:
function setRowData(newData) {
  rowData = newData;
  gridOptions.api.setRowData(rowData);
}
Please Note - there are other ways to update AG Grid row data. To learn more, please check our documentation on Updating Data or the example for your choice of framework.
Resetting the pinned row
And lastly, once the new data row is added to the grid, we clear the top pinned row by assigning an empty object and passing it to the grid as shown below:
onCellEditingStopped: (params) => {
    if (isPinnedRowDataCompleted(params)) {
        // save data
        setRowData([...rowData, inputRow])
        //reset pinned row
        setInputRow({});
    }
  },
This allows the now empty pinned row to be used to add a new row of data.
Please see the code for setInputRow below:
function setInputRow(newData) {
  inputRow = newData;
  gridOptions.api.setPinnedTopRowData([inputRow]);
}
Summary
This blog post showed you how to add new rows to AG Grid using a pinned row on the top of the grid. This provides a safe way to add new data without creating additional UI.
We hope this can enhance your AG Grid applications and help you deliver a better user experience.
Happy Coding!
