
The full project is available on GitHub.
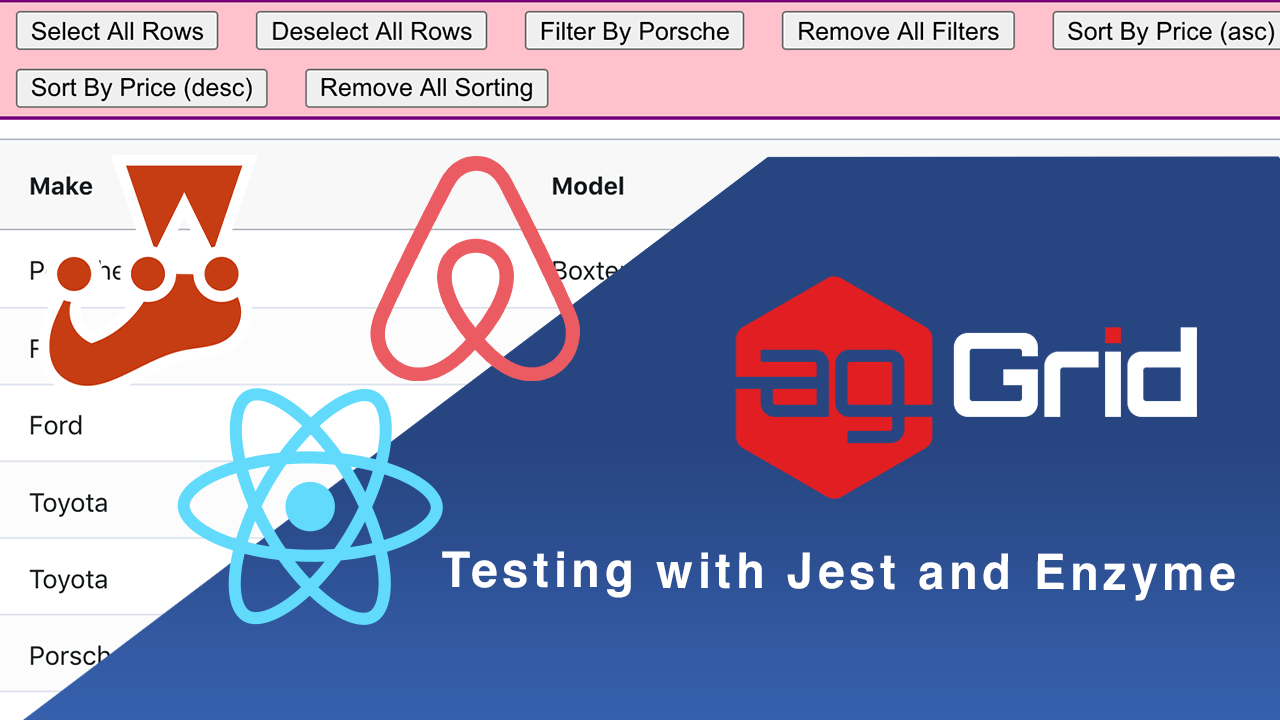
Jest and Enzyme are increasingly popular tools that you can use to test UIs built with ag-Grid. In this post we show you how to set them up to test ag-Grid and test a panel of buttons that change the state of an ag-Grid instance. We'll be demonstrating and comparing two different approaches to writing our tests - querying JSDOM and using ag-Grid's API.
Below is a demo of the project we'll be testing. The application is written in React and is available on GitHub.
- Setting up the Testing Environment
- Test Setup
- Testing by querying JSDOM
- Testing using ag-Grid's API
- Which approach is better?
Setting up the Testing Environment
Install Enzyme using the command below:
$ npm i -D enzyme enzyme-adapter-react-16 Since we're using Jest as our test runner, we need to install the following package:
$ npm i -D jest-environment-jsdom-fourteenWe then have to modify the test script in our package.json file to reference that environment:
"test": "react-scripts test --env=jsdom-fourteen"In the src directory, create a setupTests.js file and configure an Enzyme adapater:
Great! You can now run the Jest test runner:
$ npm run testTest Setup
Before executing our test blocks, we must ensure that our ag-Grid instance has fully initialized. To do this we will run each test block asynchronously after the resolution of a Promise that only resolves once ag-Grid's API is available on the App Component.
Please see the code for this below:
const ensureGridApiHasBeenSet = (wrapper) => {
  return new Promise(function (resolve, reject) {
    (function waitForGridReady() {
      if (wrapper.instance().gridApi) {
        resolve(wrapper);
        return;
      }
      setTimeout(waitForGridReady, 100);
    })();
  });
};

describe('Grid Actions Panel', () => {
  let wrapper = null;
  let agGridReact = null;

  beforeEach((done) => {
    wrapper = mount(<App />);
    agGridReact = wrapper.find(AgGridReact).instance();

    ensureGridApiHasBeenSet(wrapper)
      .then(() => setRowData(wrapper, testData))
      .then(() => done());
  });

  // ...
Note that we are also dynamically setting the row data of ag-Grid so that our tests don't have to rely on any external endpoint to provide our test data.
You can see the code for this below:
const testData = [
  { make: 'Alfa Romeo', model: 'A', price: 10000 },
  { make: 'BMW', model: 'B', price: 20000 },
  { make: 'Citroen', model: 'C', price: 30000 }
];

const setRowData = (wrapper, rowData) => {
  return new Promise(function (resolve, reject) {
    wrapper.setState({ rowData }, () => {
      wrapper.update();
      resolve();
    });
  })
}
Now that we've set up the environment, let's compare the two methods of testing - querying JSDOM vs. using the ag-Grid API. We've covered some key testing scenarios and included the code for both testing methods.
Testing by querying JSDOM
Testing by querying JSDOM (or any other headless browser) means we're writing our tests to deal with DOM nodes rather than component instances.
This is generally the recommended approach when testing a front-end user interface as it focuses on testing components in a similar way to how a user would use them - keeping in line with the testing principle that you should test behaviour and not implementation.
Our tests will consists of:
- Simulating a panel button click to change the state of ag-Grid.
- Querying JSDOM for nodes that would reflect said state changes.
- Asserting that the user interface has changed in the intended way.
Let's now focus on testing some of the core functionality in ag-Grid.
Row Selection
You can test ag-Grid row selection by selecting all rows using the code below:
  it('selects all rows', () => {
    wrapper.find('#selectAll').simulate('click');

    const selectedRowsDOM = wrapper.render().find('.ag-center-cols-container .ag-row.ag-row-selected');
    expect(selectedRowsDOM.length).toEqual(testData.length);
});wrapper.render().find() instead of wrapper.find(). This is because ag-Grid dynamically inserts HTML into the agGridReact component. Read more about the issue here.Filtering
If you'd like to test filtering, see the code below:
it(`filters "make" column by "Alfa Romeo"`, () => {
    wrapper.instance().filterBtnHandler("make", "Alfa Romeo");

    const filteredCells = wrapper.render().find(`.ag-center-cols-container .ag-cell[col-id="make"]`)
    for (let i = 0; i < filteredCells.length; i++) {
      const cellText = filteredCells[i].children[0].data;
      expect(cellText).toEqual("Alfa Romeo")
    }
  });
Note: Simulating the filter button click will not work here since the panel button is hard coded to filter a value not found in our test data. For this reason when testing the filter button panel, we invoke the filterBtnHandler and pass our own params.
Sorting
 it('Sorts by Price: ascending', () => {
    const sortedAscTestData = testData.sort((a, b) => a.price - b.price);
    wrapper.find('#sortByPriceAsc').simulate('click');

    const gridRows = wrapper.render().find('.ag-center-cols-container .ag-row');
    for (let i = 0; i < gridRows.length; i++) {
      const cellText = gridRows[i].children[2].children[0].data;
      const testValue = testData[i]['price'].toString();
      expect(cellText).toEqual(testValue);
    }
  })
Testing using ag-Grid's API
ag-Grid's API exposes a number of accessor properties that allow us to read and update our grid's internal state.
The main advantage of this approach is that it is compatible with DOM virtualisation. Tests written this way are often more readable. However, since we are dealing with component instances and not DOM nodes this can be seen as testing an implementation and not behaviour.
Our tests will follow this pattern:
- Simulating a panel button click to change the state of the grid.
- Reading the grid's internal state using the grid API.
- Asserting that the grid's interal state has changed as intended.
Row Selection
  it('selects all rows', () => {
    wrapper.find('#selectAll').simulate('click');

    const selectedRowsAPI = agGridReact.api.getSelectedRows();
    expect(selectedRowsAPI.length).toEqual(testData.length);
  });
Filtering
it(`filters "make" column by "Alfa Romeo"`, () => {
    wrapper.instance().filterBtnHandler("make", "Alfa Romeo");

    agGridReact.api.forEachNodeAfterFilter(node => {
      expect(node.data["make"]).toEqual("Alfa Romeo");
    });
  });
Again, simulating the filter button click will not work here since the button is hard coded to filter a value not found in our test data.
Sorting
 it('Sorts by Price: ascending', () => {
    const sortedAscTestData = testData.sort((a, b) => a.price - b.price);
    wrapper.find('#sortByPriceAsc').simulate('click');

    agGridReact.api.forEachNodeAfterFilterAndSort((node, ind) => {
      expect(node.data.price).toEqual(sortedAscTestData[ind].price);
    });
  })
Which approach is better?
The simple answer is that we'd recommend testing with the ag-Grid API as ag-Grid utilizes DOM virtualization by default. However if you've turned off DOM virtualization, querying JSDOM would generally be a sounder approach.
What's next?
We hope this is useful as you build your application test cases when using ag-Grid. You can download it from GitHub and experiment with it further to bring it closer to your test cases.
You can learn more about testing with ag-Grid in our documentation.
If you would like to try out ag-Grid check out our getting started guides (JS / React / Angular / Vue)
Happy coding!