
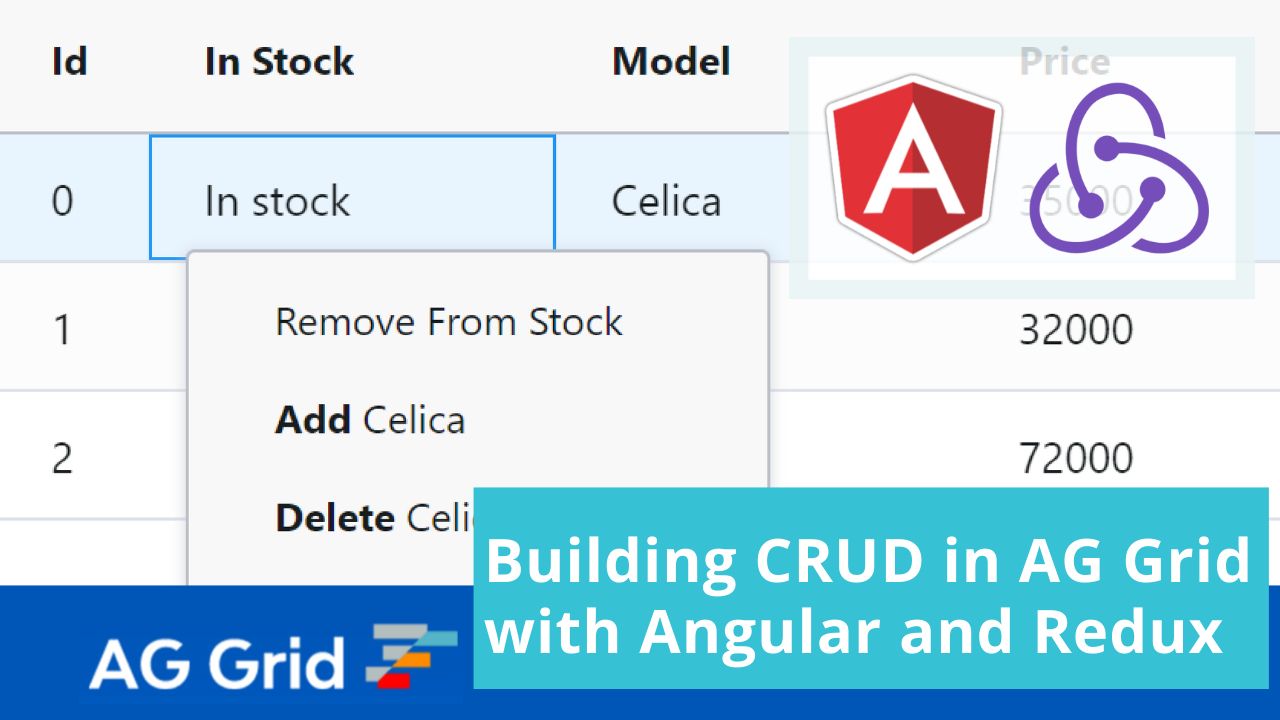
In this post we will look at how to set up and perform CRUD operations in AG Grid while keeping our row data inside the Redux store. Redux enables unidirectional dataflow, providing more control over application state and tools to address issues associated with data mutability.
We've built a sample to illustrate this - please see it in action below:
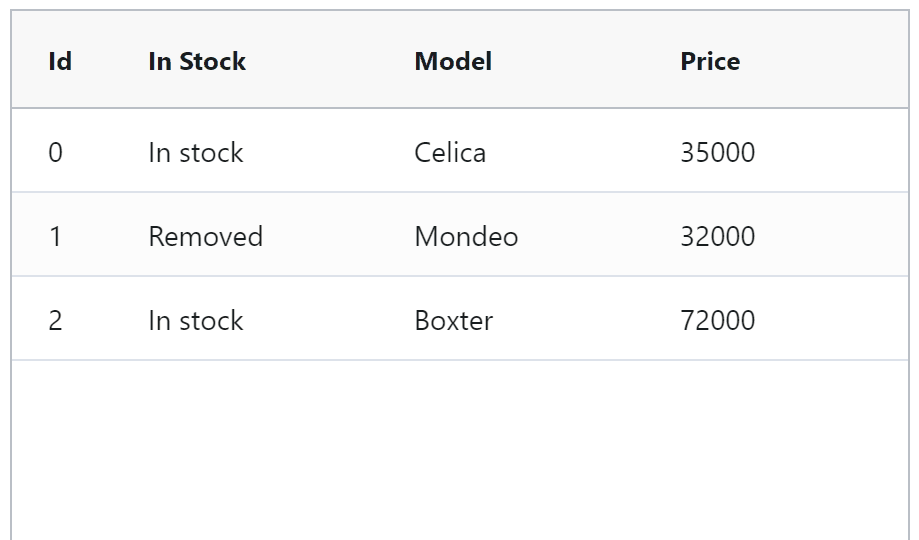
Live Demo
The live demo below shows how to update row data in the Redux store by performing actions in AG Grid. Right-click a row to display the context menu and see the available actions you can perform to the Redux store.
Please see the live demo with source code below:
Contents
How it works
So, how does AG Grid interact with Redux? In short, every state change in AG Grid is communicated to Redux, which returns an updated state, which causes the grid to update itself automatically to display this new state.
See the illustration below showing how AG Grid works with Redux:
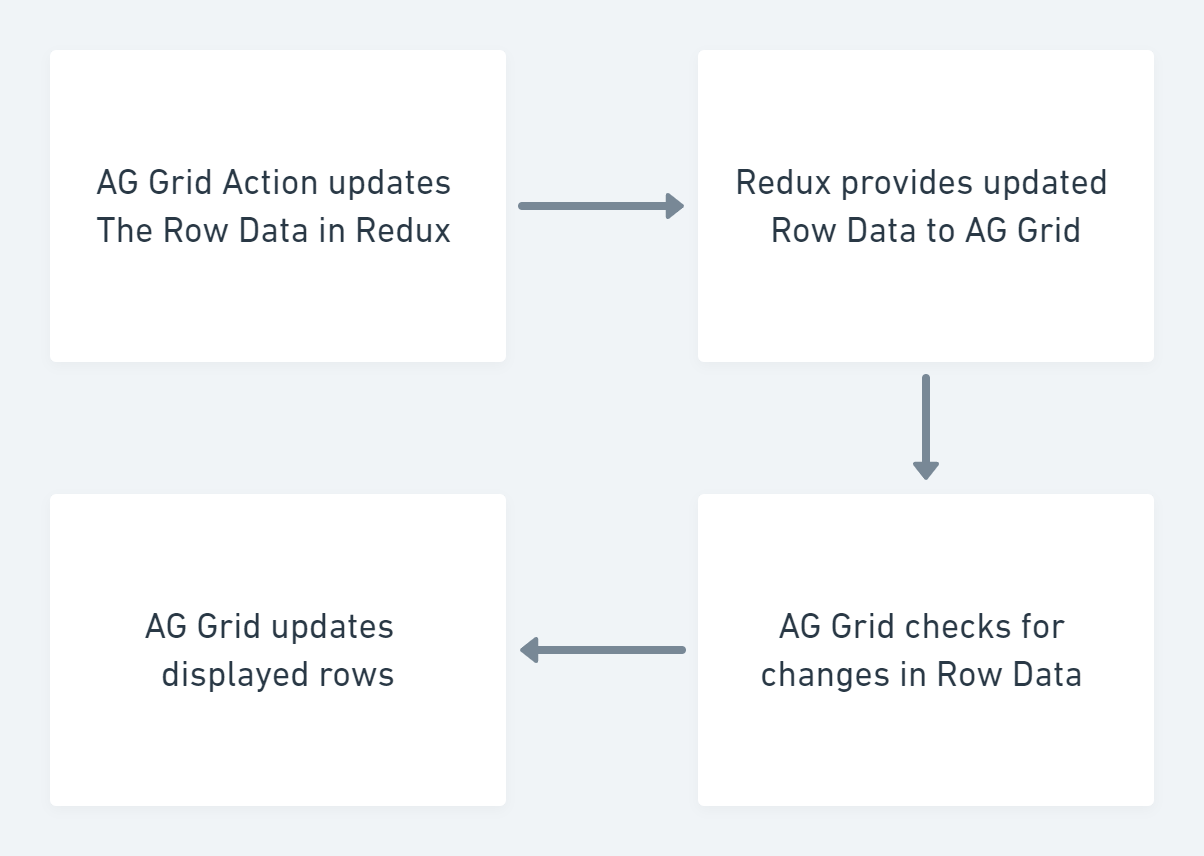
This is why all we need to do after a state change in AG Grid is to notify the Redux store of that. AG Grid will then automatically update itself with the result of that change coming from the store. This is why in the CRUD operations below we only show the code to relay the changes to the Redux store. In the sample, we show how to add rows, update rows via API, update rows via cell editing and delete rows.
We also demonstrate how to use other grid features - click the name of the feature below to learn more:
- Using the Context Menu to perform CRUD actions
- Using Cell Editor to update grid data
- Using Value Formatter to change the appearance of grid cell data
Adding rows
Let's start by looking at how to create new rows. In our example when you right click a row and click on the Add button in the context menu, we copy the clicked row data, assign it a new row id and pass it to the store with an ADD_ROW operation. Adding unique row id values is crucial - without them the Redux store will not work correctly because we are working with immutable data as explained in our documentation.
See the add operation implemented in the code of the context menu item below:
     {
        name: "<b>Add</b> " + data.model,
        action: () => {
          let newRow = { ...data, id: this.newIds };
          this.newIds++;
          this.ngRedux.dispatch({
            type: ADD_ROW,
            newRow: newRow
          });
        }
     },
Editing cell values
Double-click the top cell in the Model column to start editing it and enter a new value. This update gets saved to the store and the grid is then refreshed.
In order to save changes after cell editing in AG Grid to Redux we need to use a Value Setter in the AG Grid Default Column Definitions. For more information on these, see our documentation on Value Setters and Column Definitions.
In the valueSetter code, we get the column name (colDef), row data (data) and updated cell value (newValue). We then create an updated version of the row data and send it to the Redux store with an UPDATE_ROW action as shown below:
  defaultColDef = {
    valueSetter: ({ colDef, data, newValue }) => {
      let updatedRow = { ...data };
      updatedRow[colDef.field] = newValue;
      this.ngRedux.dispatch({
        type: UPDATE_ROW,
        payload: updatedRow
      });
      return false;
    }
  };
Updating Cell Values Programmatically
Now that we showed how to update row values via a cell edit, how about updating a row programmatically? We've built this logic in the "Increase price" item in the row context menu.
In the code example below you see how clicking this context menu item increases the price value for the row. We send the specific row id to Redux store with an UPDATE_PRICE action where the price inside the row data for the specific id will be updated. Please see the code for this below:
      {
        name: "Increase price for " + data.model,
        action: () => {
          this.ngRedux.dispatch({
            type: UPDATE_PRICE,
            payload: rowId
          });
        }
      }
Deleting rows
To wrap it up, let's see how we can delete a row from the grid. When we right-click a row and then click the Delete item in the context menu, we get the row id and send it in a REMOVE_ROW action to the Redux store to delete the row. Redux deletes the row and AG Grid updates itself.
Please see this in the code below:
      {
        name: "<b>Delete</b> " + data.model,
        action: () => {
          this.ngRedux.dispatch({
            type: REMOVE_ROW,
            payload: rowId
          });
        }
      },
Summary
We hope you find this article helpful when using AG Grid with Redux in Angular as an alternative to NgRx or NGXS. Feel free to fork the example from this blog and modify it according to your needs.
If you would like to try out AG Grid check out our getting started guides (JS / React / Angular / Vue)
Happy coding!