
- Introduction
- Animating a sliding down page
- Animating a change of text
- Config
- React Spring Hooks
- Conclusion
Introduction
An important aspect of User experience in great Web applications is Animation. We need animations to show smooth movements representing transition between states or to draw attention to the most important action or newest content.
In this tutorial, we are going to be exploring a library called React Spring. It is used for animating React apps in all platforms such as web, react-native & react-native-web.
React Spring is a spring-physics based animation library that should cover most of your UI related animation needs. It is based on the principle of a spring. We normally work with a defined curve or set duration when creating animations and struggle to make animations look natural. With springs everything you do looks and feels natural by default.
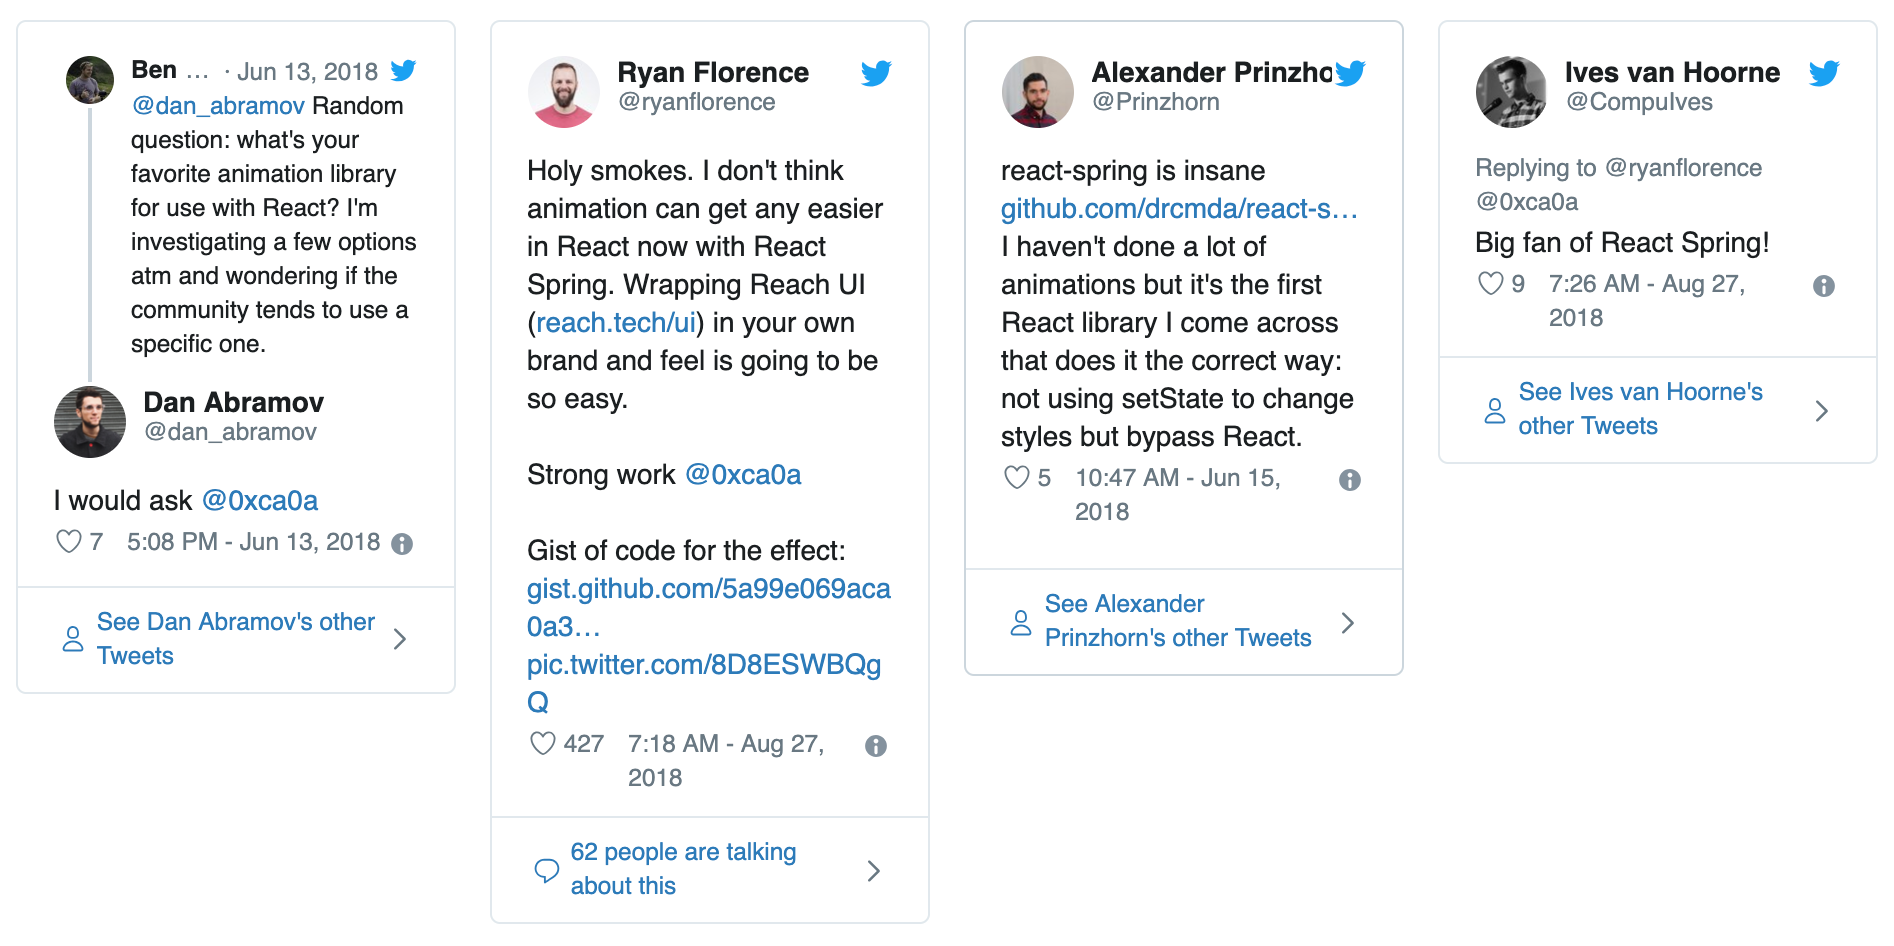
Why not just use something else? React Transition Group offers you the ability to add and remove classes so that you can then apply animations to it. Unfortunately though, React Transition Group doesn’t bring any animations, you still need to handle that part yourself. React spring offers much more. Its has been commended by several React experts and is considered the best React animation package.
We will build a demo application to give you an understanding of how it works.
Setting up
First and foremost, we have to setup a React application in which we will create our animation. We will need to install create-react-app, facebook's tool for scaffolding a "Hello World" app. With npm installed, run:
npm install -g create-react-appNext we will create a named project folder for our app:
create-react-app react-spring-appcd into that directory and install react-spring package:
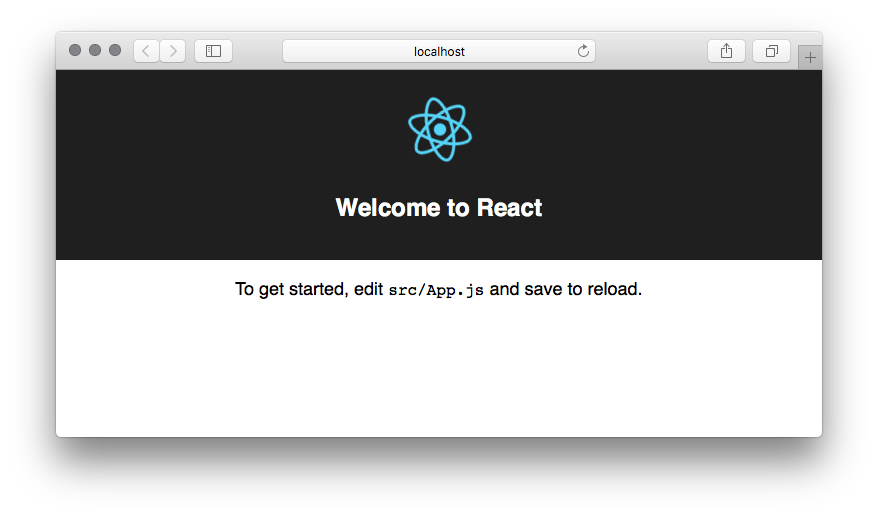
npm install react-springRun npm start to test if things are working. You should see a similar page in your browser:
Now let's get into creating out first animations.
Animating a sliding down page
React Spring offers several render-prop components but Spring is the main one. The primary task of the Spring component is to move animations from one state to another.
Spring accepts two props, from and to prop which represent where the animation starts and where the animation needs to end.
In this example, we want to create an effect of a page sliding down when it loads and fading in. To achieve this, the from prop will be set to a styling of opacity: 0 and marginTop: -5000. Also the to prop will be set to a styling of opacity:1 and marginTop: 0.
First, create a folder called components at src/. Create a new file inside and name it as Component1.js.
Fill the empty Component1.js with the code shown below.
import React from 'react';

export default function component1() {
  return (

      <div style={c1style}>
            <h1>Hi there</h1>
            <p>Lorem ipsum, dolor sit amet consectetur adipisicing elit. 	Quaerat numquam, nulla nostrum, officia soluta inventore repellendus, eaque nihil sed voluptas ea? Deserunt iure, suscipit exercitationem earum aliquam iusto nihil nulla!
            Veniam perspiciatis enim accusamus, autem numquam qui inventore non labore totam id quaerat dolores quos suscipit reprehenderit harum excepturi esse? Laborum nisi commodi enim, adipisci provident rem nobis similique distinctio?
          Possimus cum iusto ducimus saepe laborum. Accusantium sint, dolorem, aliquam in voluptate id, quos temporibus ullam cupiditate itaque consequuntur qui cum! Exercitationem a, quisquam obcaecati commodi nisi quis consectetur iure!
          </p>
      </div>

  )
}

const c1style = {
  background: 'steelblue',
  color: 'white',
  padding: '1.5rem'
}
Next, we first import Spring component from the react-spring package.
When using the Spring component, we have to pass a function as its child and that function provides us props parameter. The entire content of our page will go between the div with a style of props. For example
<Spring>
  {props => <div style={props}>...</div>}
</Spring>
So modify the entire component1.js to look like this:
import React from 'react';
import { Spring } from 'react-spring/renderprops';

export default function component1() {
  return (
    <Spring
      from={{ opacity: 0, marginTop: -5000 }}
      to={{ opacity: 1, marginTop: 0 }}
    >
      {props => (
        <div style={props}>
          <div style={c1style}>
            <h1>Hi there</h1>
            <p>Lorem ipsum, dolor sit amet consectetur adipisicing elit. Quaerat numquam, nulla nostrum, officia soluta inventore repellendus, eaque nihil sed voluptas ea? Deserunt iure, suscipit exercitationem earum aliquam iusto nihil nulla!
            Veniam perspiciatis enim accusamus, autem numquam qui inventore non labore totam id quaerat dolores quos suscipit reprehenderit harum excepturi esse? Laborum nisi commodi enim, adipisci provident rem nobis similique distinctio?
          Possimus cum iusto ducimus saepe laborum. Accusantium sint, dolorem, aliquam in voluptate id, quos temporibus ullam cupiditate itaque consequuntur qui cum! Exercitationem a, quisquam obcaecati commodi nisi quis consectetur iure!</p>
          </div>
        </div>
      )}
    </Spring>

  )
}

const c1style = {
  background: 'steelblue',
  color: 'white',
  padding: '1.5rem'
}
make sure to import Component1.js into App.js
import React, { Component } from 'react';
import Component1 from './components/Component1';
import './App.css';

class App extends Component {
  render() {
    return (
      <div className="App">
        <Component1 />
      </div>
    );
  }
}

export default App;
Output
If your app is not running, start it up by running this command
npm run startYour page will open and you'll see the effects taking place.
Animating a change of text
In this example, we would animate a change of text by modifying the inner content of an element. A number will run from 0 to 10.This code snippet shows how we generally intend to achieve it.
<Spring
  from={{ number: 0 }}
  to={{ number: 1 }}>
  {props => <div>{props.number}</div>}
</Spring>
In addition, we also want Component2.js to slide down like Component1.js so create a new file named Component2 in src/components and put the following code
import React from 'react';
import { Spring } from 'react-spring/renderprops';

export default function component2() {
  return (
    <Spring
      from={{ opacity: 0, marginTop: -5000 }}
      to={{ opacity: 1, marginTop: 0 }}
    >
      {props => (
        <div style={props}>
          <div style={c2style}>
            <h1>Hi there</h1>
            <p>Lorem ipsum, dolor sit amet consectetur adipisicing elit. Quaerat numquam, nulla nostrum, officia soluta inventore repellendus, eaque nihil sed voluptas ea? Deserunt iure, suscipit exercitationem earum aliquam iusto nihil nulla!
            </p>
            <Spring
              from={{ number: 0 }}
              to={{ number: 10 }}
              config={{ duration: 10000 }}>
              {props => <div>
                <h1 style={counter}>{props.number.toFixed()}</h1>
              </div>}
            </Spring>
          </div>
        </div>
      )}
    </Spring>

  )
}

const c2style = {
  background: '#F9CE21',
  color: '#111',
  padding: '1.5rem'
}

const counter = {
  background: '#FFF',
  textAlign: 'center',
  width: '100px',
  height: '40px',
  width: '40px',
  borderRadius: '50%',
  margin: '1rem auto'
}
In the code above, we:
- nested another
Springcomponent to where we wanted the changing numbers animation. We used the JavaScript function.toFixed()to prevent decimal numbers from being displayed. - we used the
configprop insideSpringto delay animations for 10 seconds so it doesn't run too fast.
Next, import Component2.js into App.js and render it
import React, { Component } from 'react';
import Component1 from './components/Component1';
import Component2 from './components/Component2';
import './App.css';

class App extends Component {
  render() {
    return (
      <div className="App">
        <Component1 />
        <Component2 />
      </div>
    );
  }
}

export default App;
Config
Though Spring handles a lot for us, Spring is configurable and can be adjusted
Spring delays, tension, friction, resets, and everything can be completely tuned. There are also a couple of generic presets that will cover some common ground. These include config.default, config.gentle, config.wobbly, config.stiff, config.slow, and config.molasses. Consider the example below
import React from 'react';
import { Spring, config } from 'react-spring/renderprops';

const counter = () => (
    <Spring
        from={{ number: 0 }}
        to={{ number: 10 }}
        delay= '10000'
        config = { config.molasses }>
        {props => <div>{props.number.toFixed()}</div>}
    </Spring>
)

export default counter;
You can also set configs for yourself. For example
<Spring config={{ tension: 0, friction: 2, precision: 0.1 }} />React Spring Hooks
Apart from the Render props API provided by React Spring, we also have access to a number of Hooks API such as useSpring, useSprings, useTrail, useTransition and useChain.
The easiest is useSpring, but the same concept applies to all animation primitives. Let's have a look at the concept.
import { useSpring, animated } from 'react-spring';

function App() {
  const props = useSpring({ opacity: 1, from: { opacity: 0 } })
  return <animated.div style={props}>I will fade in</animated.div>
}
Now create a Component3.js file in src/components and copy the following code
import React from 'react';
import { useSpring, animated } from 'react-spring';

export default function Component3() {
  const props = useSpring({ opacity: 1, from: { opacity: 0 }, delay: '2000' });
  return <animated.div style={props}><h1>I will fade in</h1></animated.div>
}
Import Component3.js into App.js and render it
import React, { Component } from 'react';
import Component1 from './components/Component1';
import Component2 from './components/Component2';
import Component3 from './components/Component3';
import './App.css';

class App extends Component {
  render() {
    return (
      <div className="App">
        <Component1 />
        <Component2 />
        <Component3 />
      </div>
    );
  }
}

export default App;
Output
Conclusion
If you've been looking for a balance between imperativeness and ease of use among various React animation libraries, React Spring is the best pick. I hope this article gets you started with exploring and creating more with this great library. Thanks for reading!
Here is the project in CodeSandBox:
Build Your Own React App With ag-Grid!
Review Animation within ag-Grid.
Learn about AG Grid React Support here, we have a React Quick Start Guide and all our examples have React versions.